| |||||||||||||||||||||||
Showing posts with label DRAG PAINTING. Show all posts
Showing posts with label DRAG PAINTING. Show all posts
Monday, June 18, 2012
How to Paint. Tools,prep work, "Blow by Blow"


Monday, May 14, 2012
The Tuscan Villa Completed
A TUSCAN VILLA, THE RETURN
THE
COMPLETED PROJECT
A couple of weeks ago I posted a
project about painting the inside of a home to make it look like a Tuscan
Villa. The project was divided into 2
phases. This second post will talk about the bedrooms, bathrooms and the
completed first phase.
There are 3 bedrooms and 2
bathrooms. Each was given a different
color. The closets in each room were
also painted to match the room and the ceilings were given a fresh coat of
paint.
The guest bath needed to have the
wallpaper removed and then have repairs done and texture applied to the walls
before painting.
The master bath area naturally
flows from the master suite and all of the doors and built in drawers were also
painted as well as the exterior door that leads to a second floor balcony.
The colors are
Master Bedroom and bath—Gray
Guest Bedroom #1 –a very jazzy
green
Guest Bedroom #2—Cream
Guest Bath—Peach
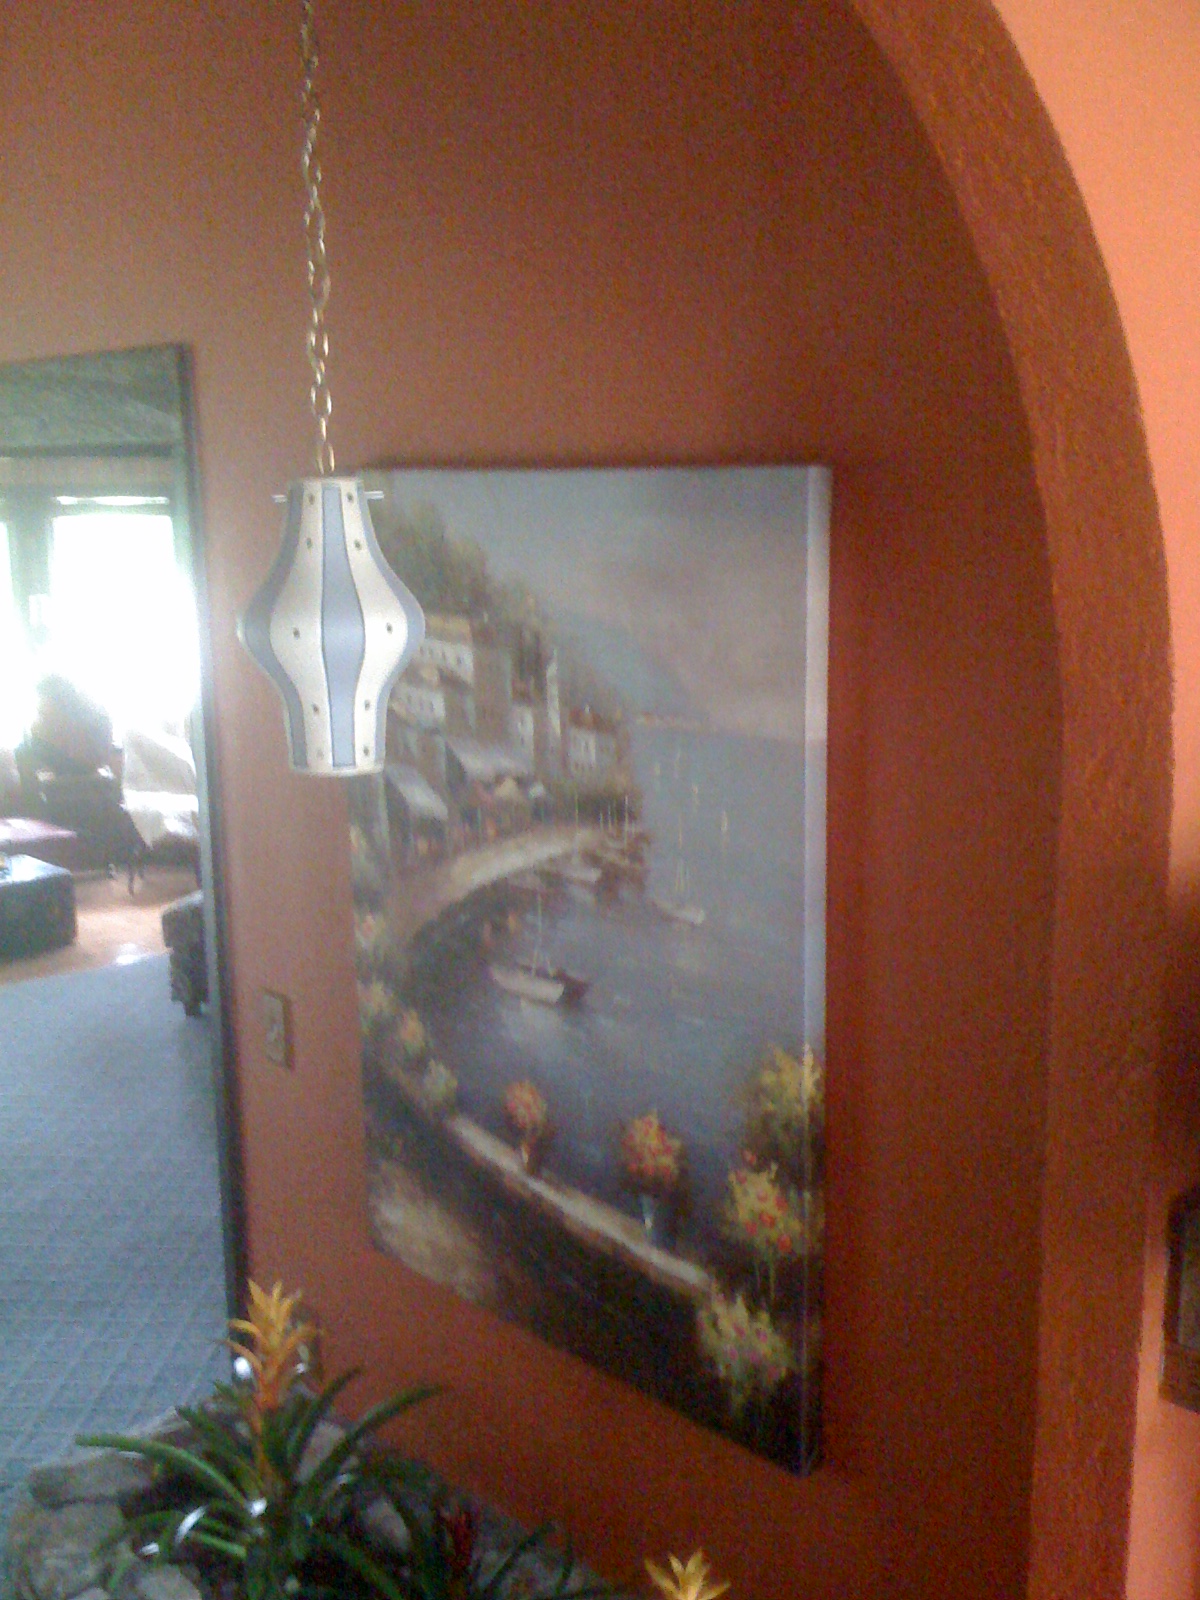


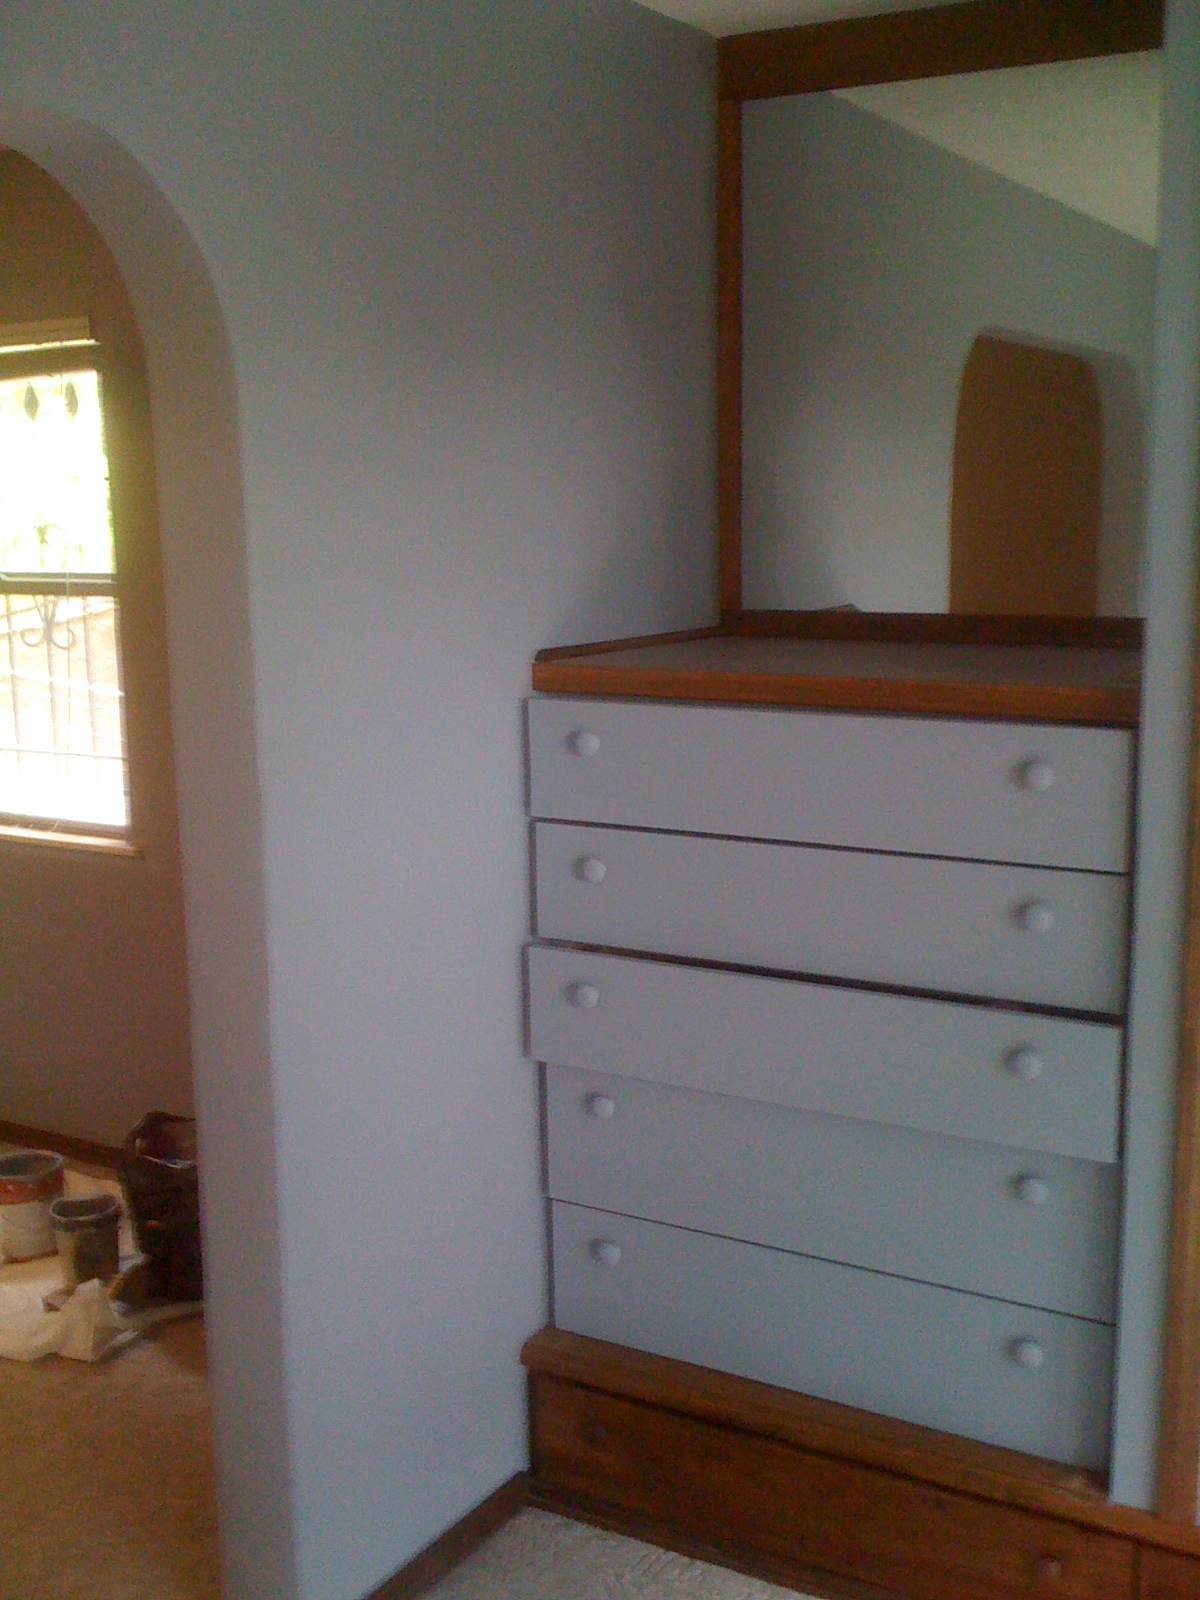


Each of these worked very well
with the Orange
that was painted in the main part of the house.
And the Tuscan theme was continued.
Each color was chosen to work with the décor of each area and in the
case of the guest bath, the cabinets were already a peach color and the tile on
the floor coordinated with the new color.
The Master suite is quite
striking and the arch doorways and hand toweled texture on the walls certainly
give it the Tuscan feel.
The portion of the home that was
done first is now decorated and completed. Now that the rest of the house is
painted it too will be decorated and the project brought to a completion.
Shelves were removed, doors taken
down and mirrors were discarded. And the
stripping of the wallpaper in the guest bath turned into quite a job. There was 2 layers of wallpaper and damage
had been done to the walls and covered over with the wallpaper. So, extensive repairs were needed to get the
walls prepared for texture and paint.
We worked 12 days on this project
and though it was hard work and a real challenge to keep it moving forward is
was a real joy to be a part of the transformation of this house. The owner was likewise wonderful to work
for. She was most gracious and was
willing to vacate a portion of the house while we worked. Most people have difficulty with tear-up in
their homes. And when someone is in your
home for 3 weeks your routine and evening time is somewhat disturbed.
Andrea, the home owner, commented
on our first post of this project. I
mention this as a way to introduce her as the homeowner that I am talking
about.
Thank you for allowing us to work
on your home. Enjoy it to the full
As always “Happy Painting”
Ken Rader Interiors L.L.C.
Follow us and like us at
www.facebook.com/Ken.Rader.Interiors
Friday, April 6, 2012
HOW TO FAUX FINISH--HOW TO DRAG PAINT
FAUX FINISHING: DRAGGING
What Roller You'll Need- Dragging Tool
- Paint for Base Color
- Roller
- Glaze for Top Coat
- Paint to Mix with Glaze
Step 1:
In this two-coat technique, first cover the wall in a base color (either satin or semi-gloss) and let dry. Prepare the glaze coat by mixing one part paint (in any color) with four parts glaze.
Step 2:In this two-coat technique, first cover the wall in a base color (either satin or semi-gloss) and let dry. Prepare the glaze coat by mixing one part paint (in any color) with four parts glaze.
Working quickly, paint the prepared glaze on the wall in two foot wide strips from top to bottom, being sure to spread it evenly.
Step 3:
Take the dragging tool (a whisk broom, stiff bristled paint brush, or the like) and, with a steady movement, pull it through the glaze from top to bottom, so the bristles leave fine textured lines behind. Keep your hand steady as the look requires consistency down the wall.
Step 4:
Wipe the brush with a clean cloth after every pass to avoid a glaze build up.
Step 5:
Continue around the room, working quickly. (This is a great two-person project!) Before you know it, you'll have a beautiful new room!
*Colors for Dragging:
For a subtle effect, choose colors with similar tonal qualities. For more pronounced stripes, select highly contrasting base and top colors.
This technique and Faux finish will provide what I call a ‘Tuscan’ look. This is because the dragging will leave behind some texture. You can drag in patterns and produce a unique and different look. Don’t expect a sophisticated look, it is more random and appears somewhat ‘Rustic’. You can imagine that it will be more ‘Rustic’ with Earth tone colors. And a more ‘Futuristic’ look with bright and highly contrasting colors.
You can also use this technique to produce a ‘stripe’. Just mark off the width of stripe you want and then drag every other width mark. As you can tell, the possibilities are many. You will need to decide what you want before you start. That is sometimes the most difficult decision to make but is the most important.
You can also drag on doors and give them a worn or antique look, once again depending on the colors you choose.
This is a fun Faux technique but I suggest you look at some pictures of it before you attempt it. It is not for everyone and I am sure you don’t want to spend your time and end up with a look you do not like or want.
This how to project is provided as a guide line. Any do-it-yourself activity involves some risk and the reader remains responsible for the selection and use of tools, materials, and methods.
As Always ‘Happy Painting’
Ken Rader Interiors L.L.C. www.kenraderinteriors.com
Follow us on Facebook.com/ken.rader.interiors
Subscribe to:
Posts (Atom)